 This card is as eye-pleasing as a Christmas tree “all spruced up”! You can share your love for the dazzling sights of the Christmas season with all your friends through its many shapes, textures, and bright colors. For recipe or purchase information, just click on the project!
Monday, November 2, 2009
Today's Featured Project: All Spruced up
All Spruced Up card This card is as eye-pleasing as a Christmas tree “all spruced up”! You can share your love for the dazzling sights of the Christmas season with all your friends through its many shapes, textures, and bright colors. For recipe or purchase information, just click on the project!
This card is as eye-pleasing as a Christmas tree “all spruced up”! You can share your love for the dazzling sights of the Christmas season with all your friends through its many shapes, textures, and bright colors. For recipe or purchase information, just click on the project!
Playing with Winter Post

I played with the SU set, Winter Post tonight, it really is a vintage look don't ya think? The pics are kind of blurry, guess I got out of practice shooting, but you get the idea, right?


Blog Finds


Christmas with the Cricut Jubilee, Very Merry Tags, and Joys of the Season
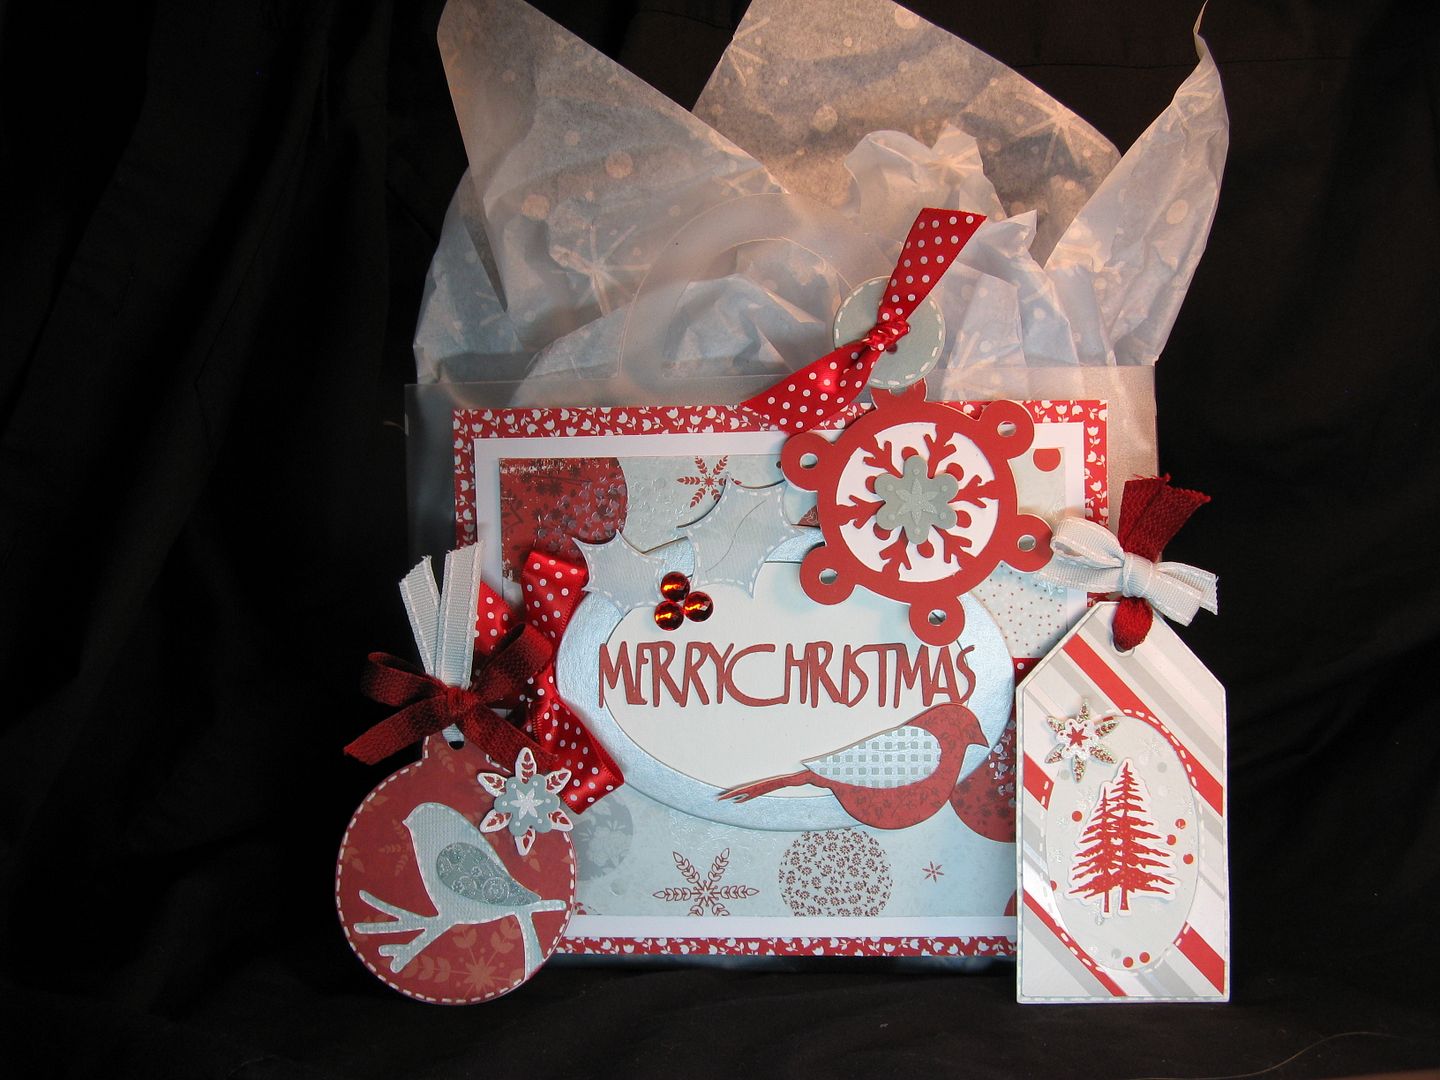
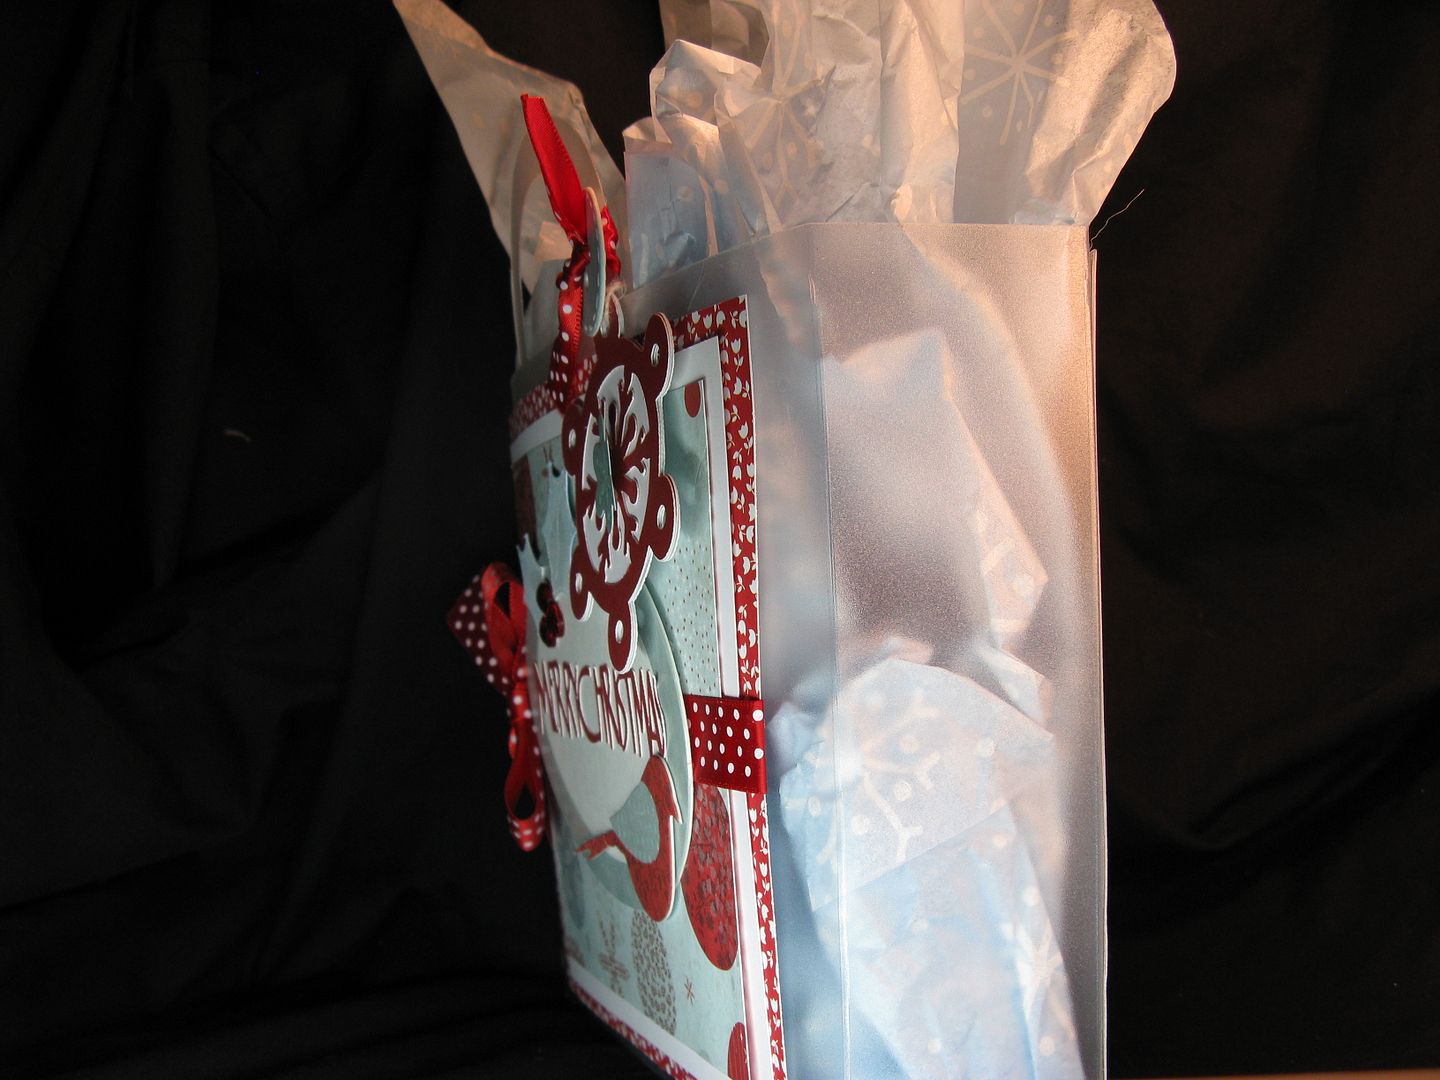
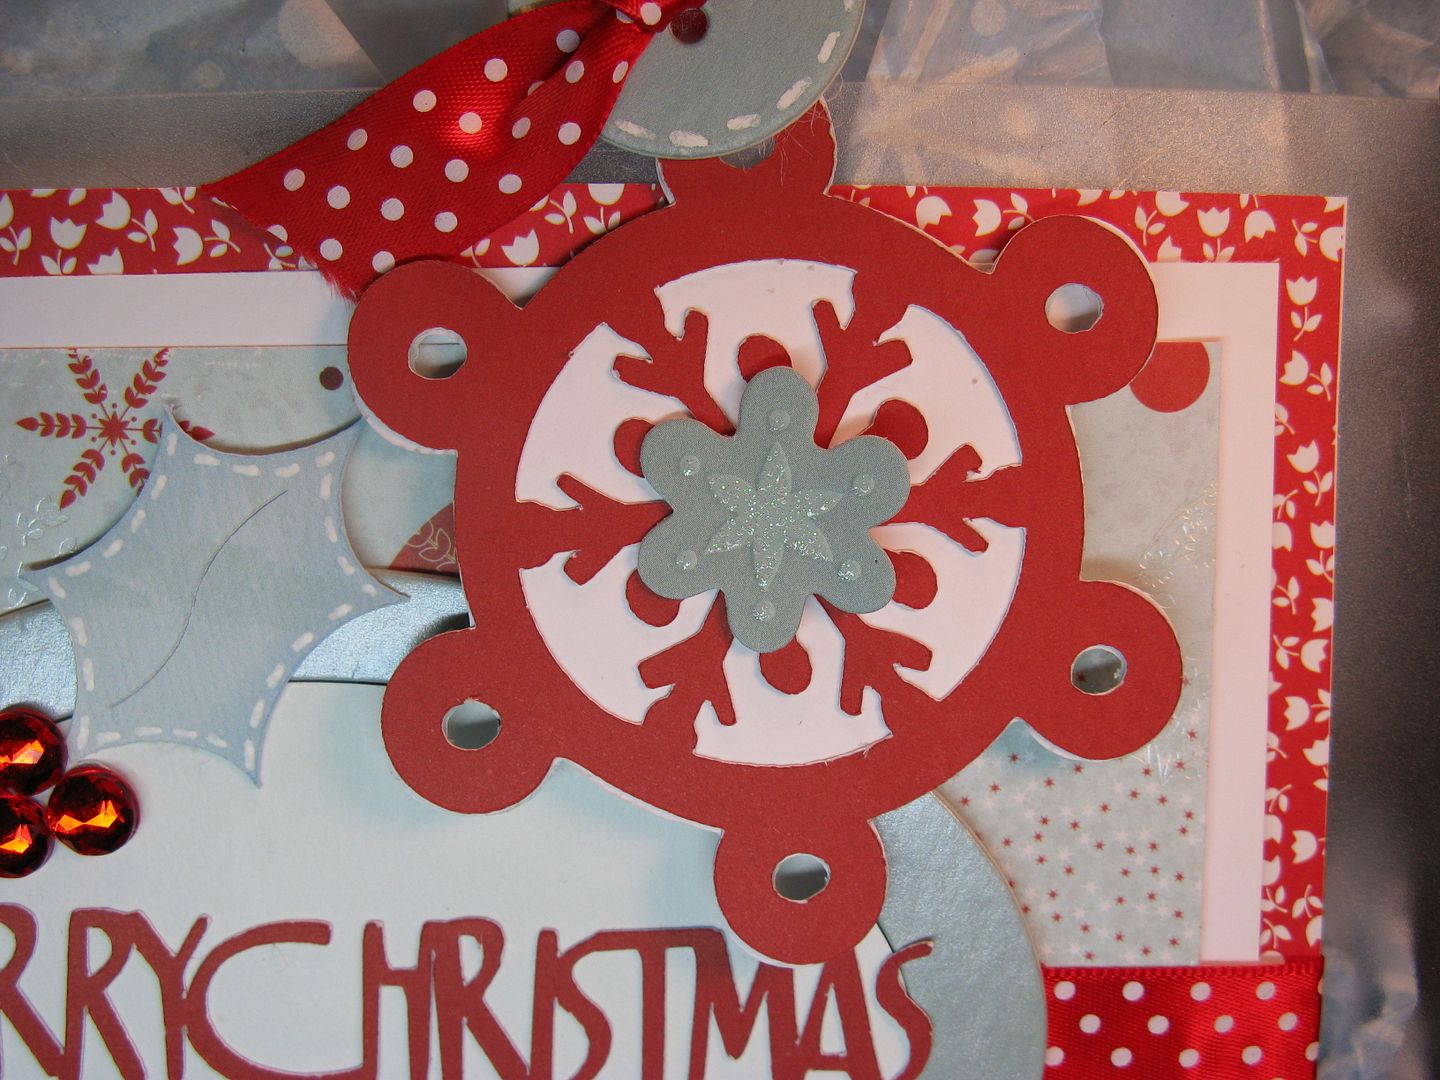
The bag( on page 114 in your handbook) was cut at 11 1/2 using the Tags, Bags, and More cartridge using the clear stencil material. You can get this stencil material at Hallmark Scrapbook by clicking ==>here<==
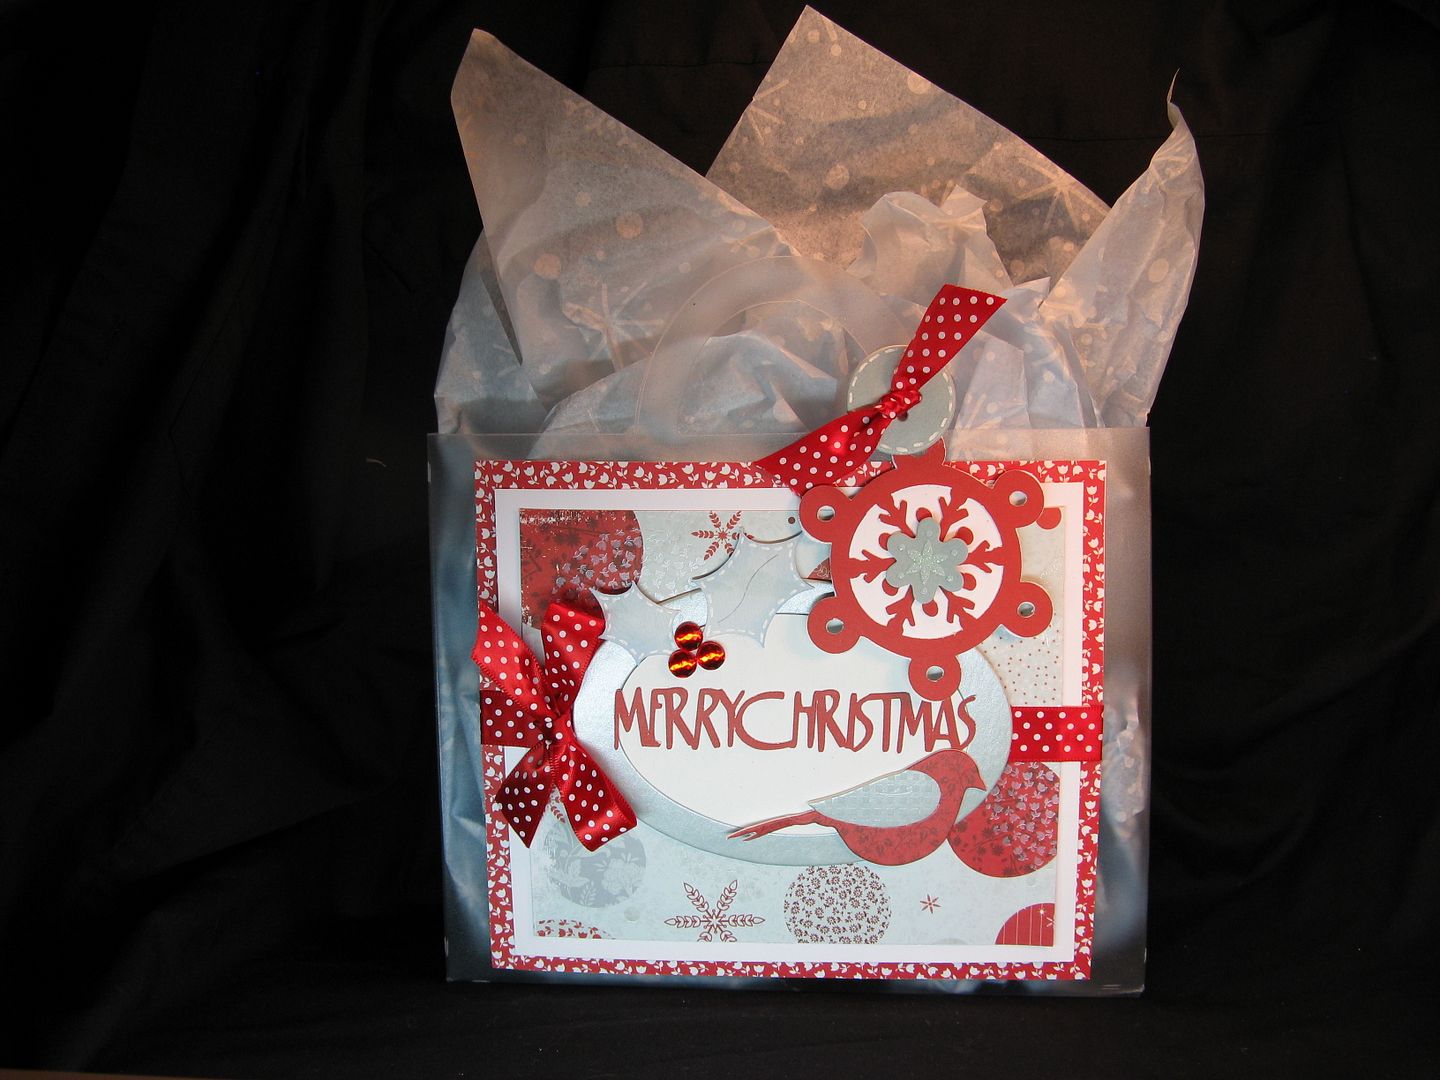
I adhered it all together using my ATG gun, but if I had to do it all over again I would have used the Provo Craft terrifically tacky tape because it holds much better on this material than your ATG gun will.
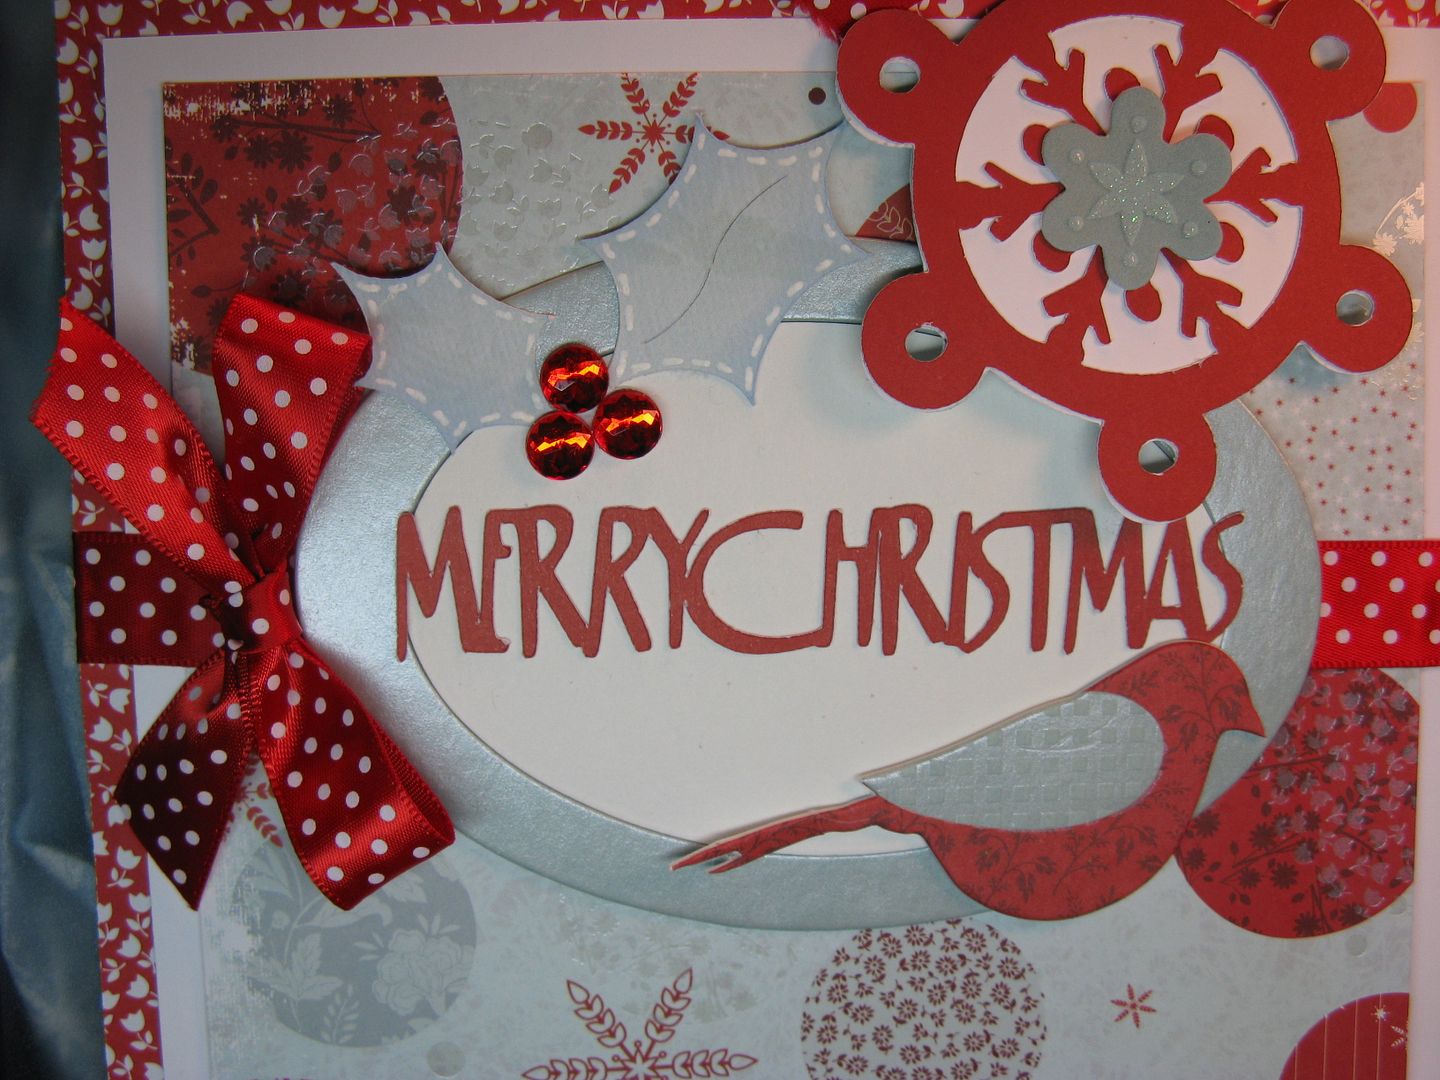
I then cut the holly leaf using Jubilee(page 77) at 1 1/2". Then I cut the 'Merry Christmas' (from the same page) at 3/4". I then added a chipboard oval and bird from the SEI 'chiplets' box. Red rhinestones were added to the holly leaf as berries.
The tag was cut using the Very Merry tags(did you kn0ow you can pre-order this cartridge at Hallmark Scraobook for $18.99!) cartridge at 3". On top of the tag I added some SEI Sparkling Frost accents to the tag.
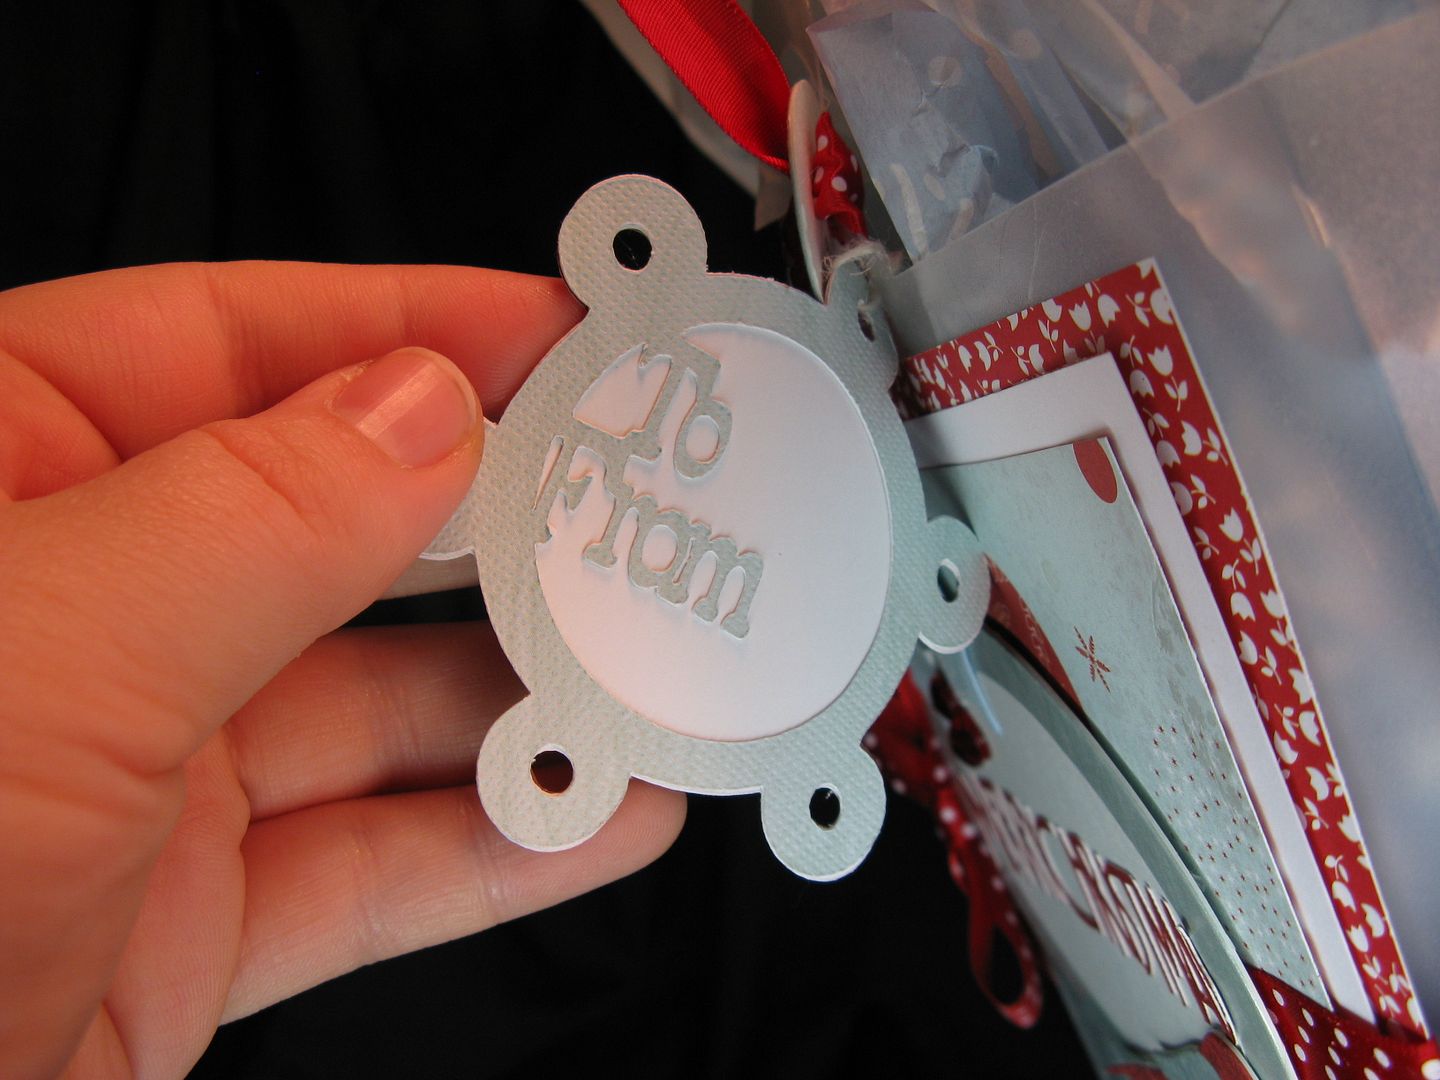
On the back side of the tag I cut the other part of the same tag and adhered it,(I just love this cartridge!) so I would have a 'to' and a 'from' on my tag.
The tags were cut using Joys of the Season and Very Merry Tags.
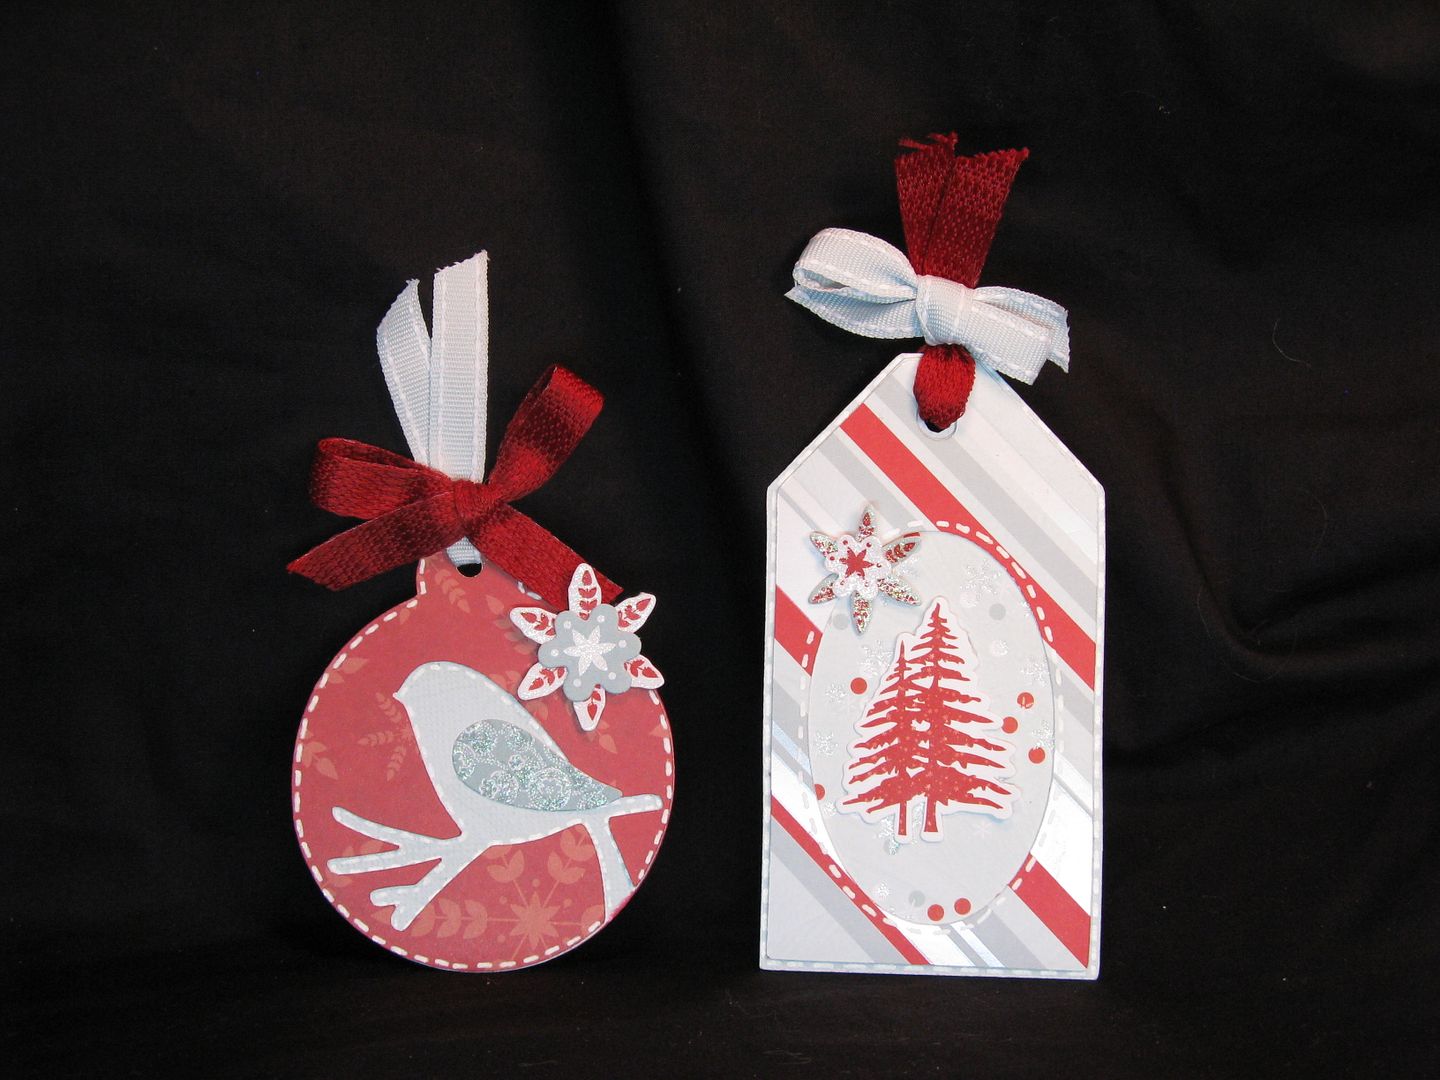
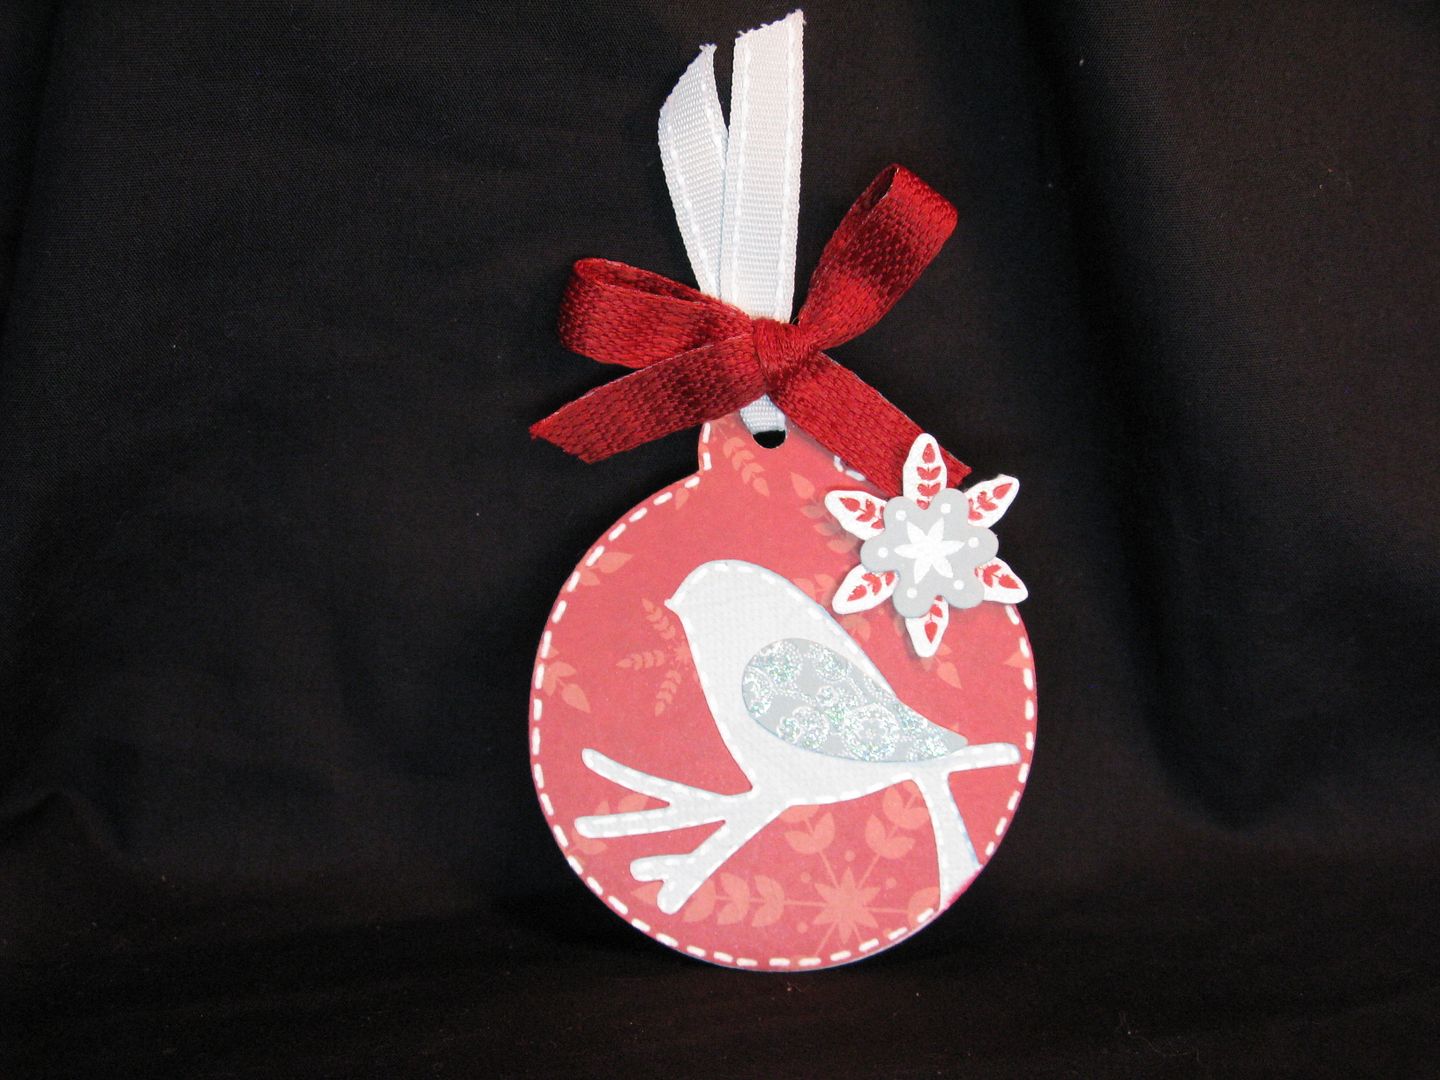
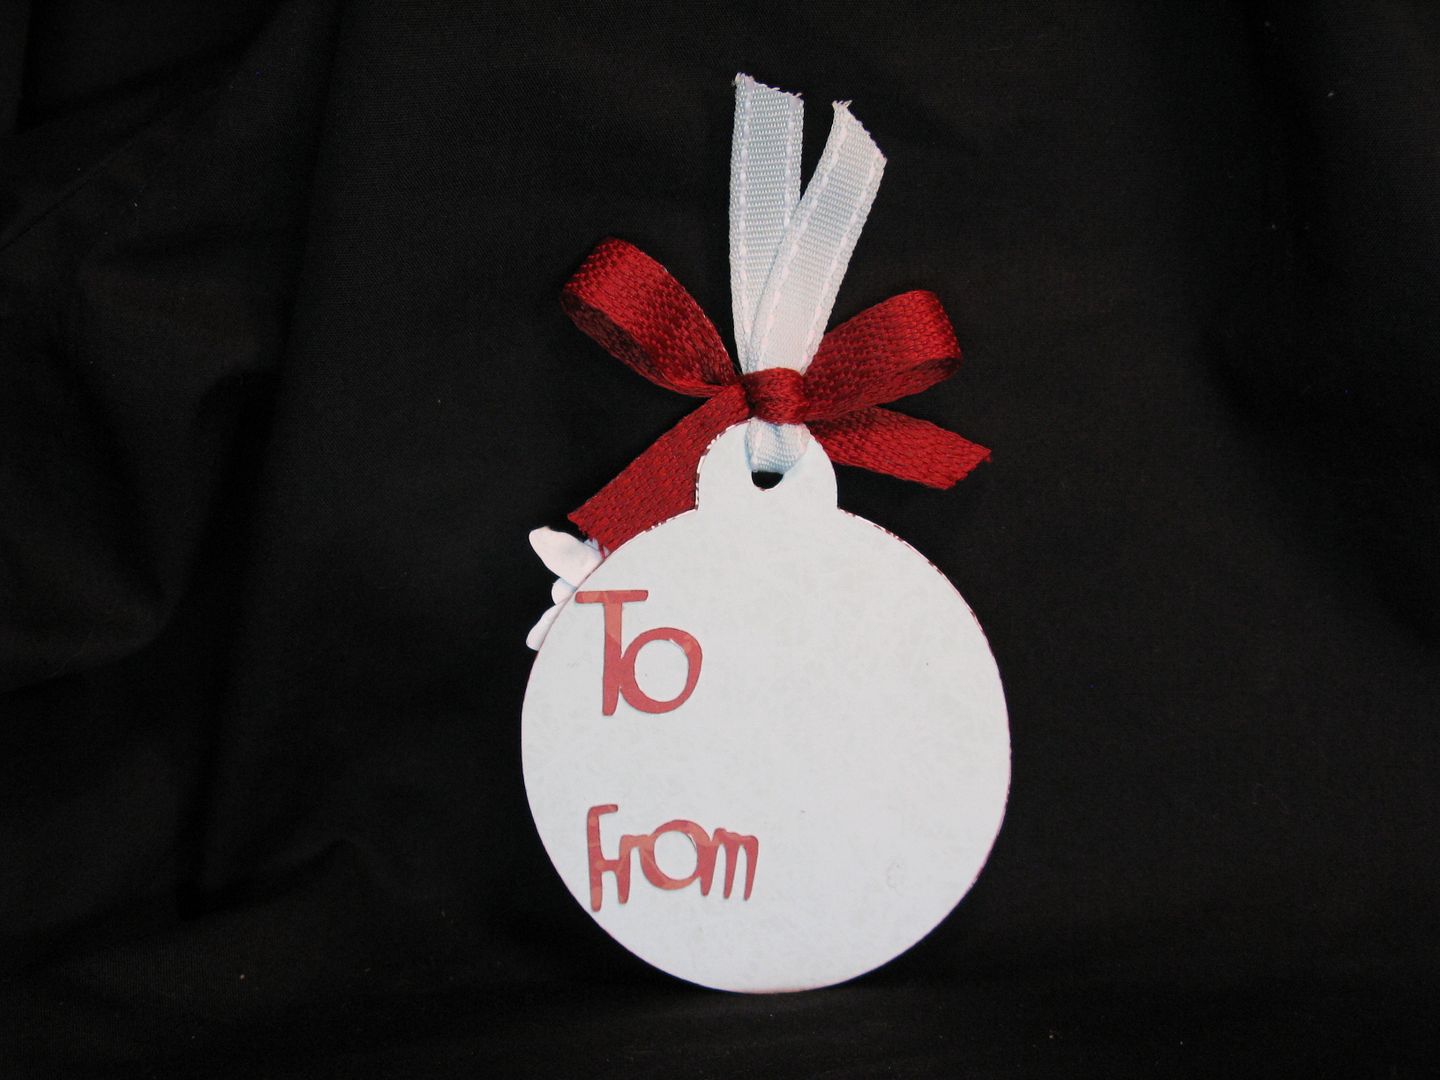
This tag was cut at 3" using the Very Merry tags mini cartridge. I then added a wing to the bird(that fit perfectly) from the SEI sparkling frost accent kit.
The "to"(at 1") and "from"(at 1 1/4") were cut from Jubilee(pages 80 and 81).
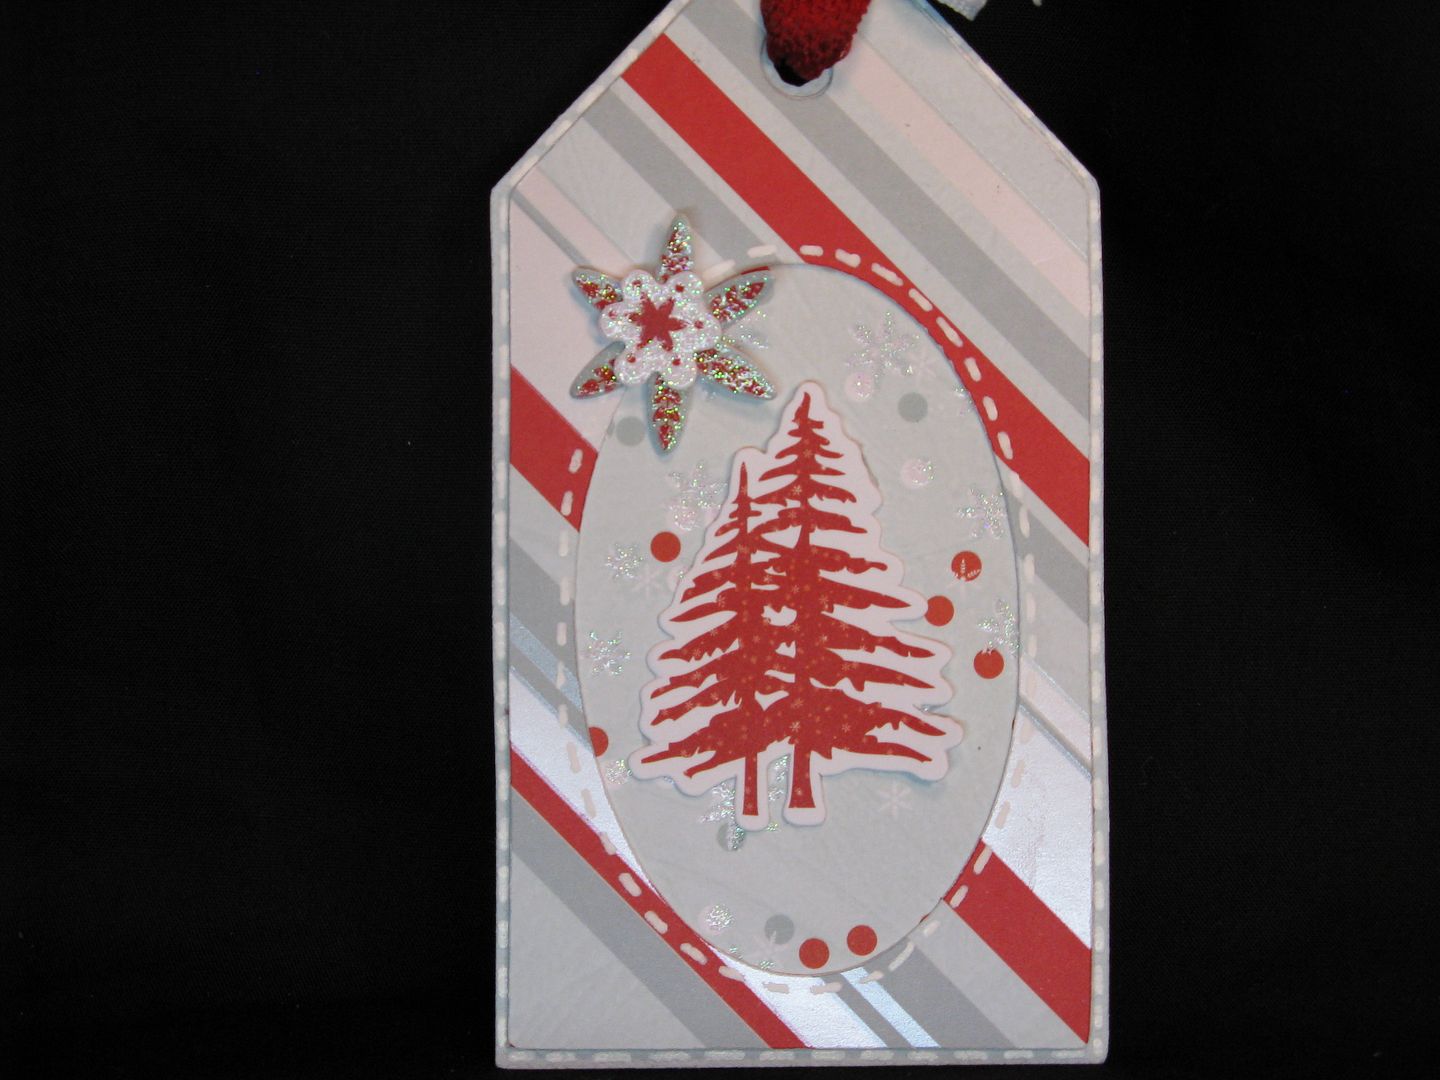
This tag(page 80) was cut using the Joys Of The Season cartridge at 4". The glittered trees and snowflakes are from that same awesome pack of SEI Sparkling Frost accents(seriously you need this).
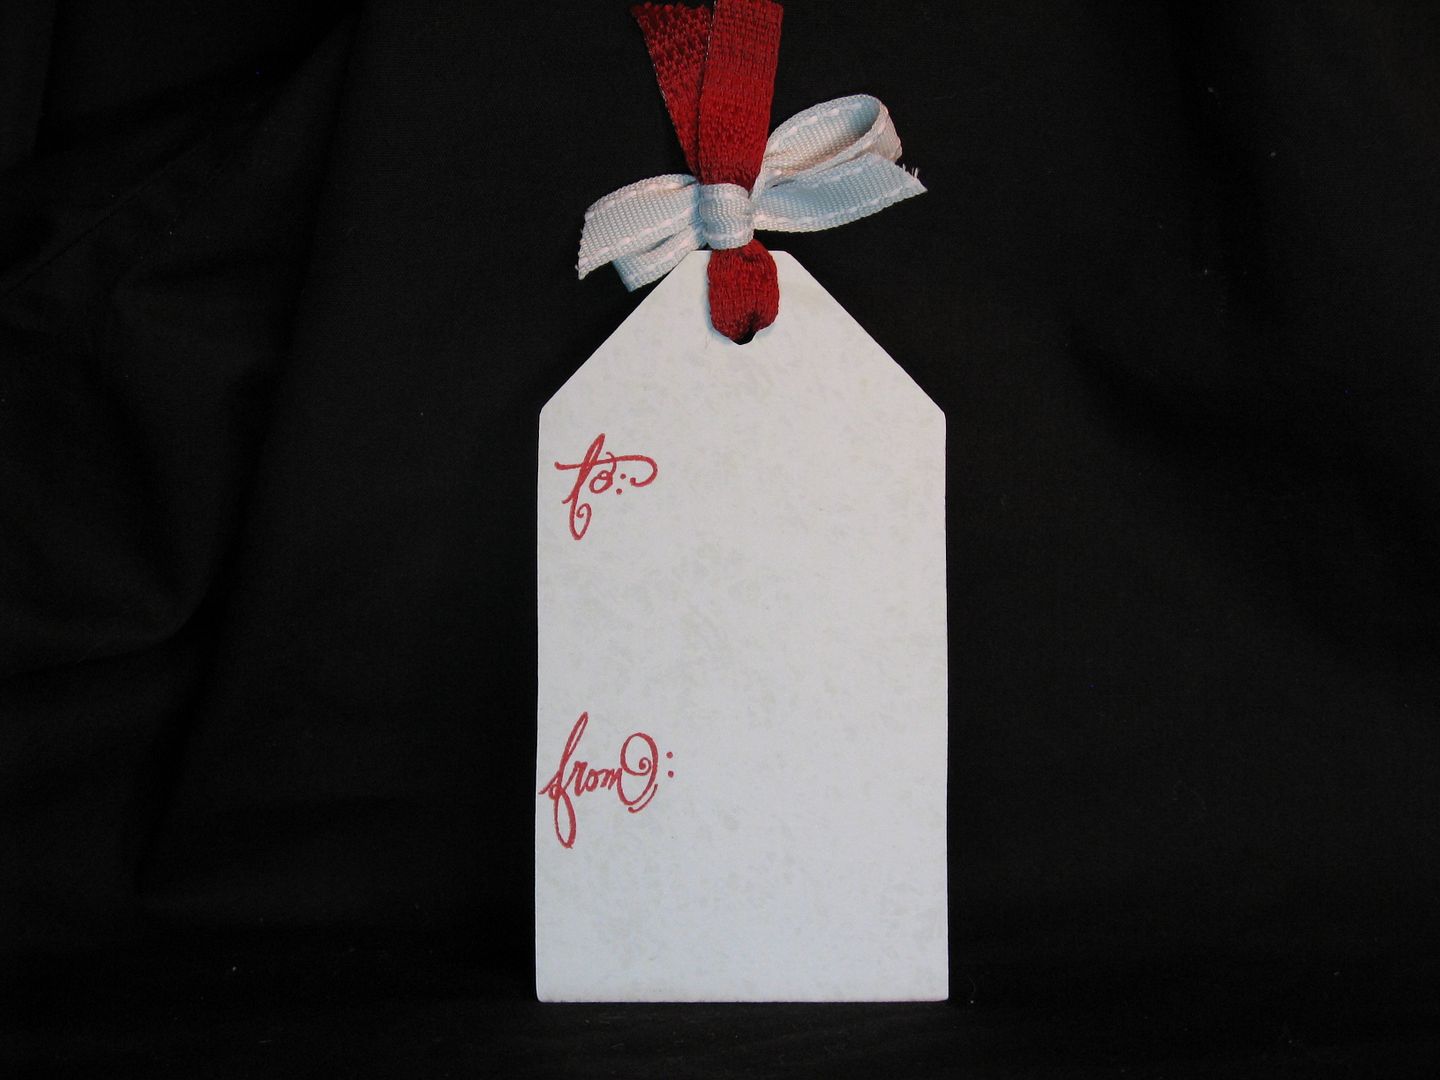
I then stamped the 'to' and 'from' on the back with a stamp set called 'No Peeking'.

A few more snow swirled


Snow Swirled Cards
 Before I went on my last trip, I played with the snow swirled stamp set and came up with 7 cards, here are the first four. It is really is difficult to see how glittery they are. I love how they turned out!


Make a gift bow from a magazine page
Check out this awesome tutorial from How about Orange
 In gift wrap emergencies when you've got the present but need some wrapping, here's an idea for turning a magazine page into a bow. (There may be better ways to stick this thing together, but I used what I had on hand: staples and adhesive glue dots)
 Cut a magazine page lengthwise into 9 strips, 3/4" wide. Leave 3 of the strips full length. Cut one inch off 3 of the strips. Cut two inches off 2 of the strips. Cut the last strip down to 3 1/2" long.
 Twist each strip to form a loop at both ends and staple it in the center. Shape the last, short strip into a circle and secure it with a glue dot.
 Layer the 3 longest pieces on top of each other, spacing them evenly and securing each with a glue dot. Add the next two groups of pieces, doing the same. And finally, stick the loop into the center.
 Use other papers, like a map of your city. Here's Chicago. Anybody see your street?
Subscribe to:
Posts (Atom)