Create a marbled look on your stamped image.
Supplies

- Stamping Wheel
- Solid Stamp
- Dye Inks
- Neutral Cardstock
- Marker (optional)
Step-by-Step
-
Step 1
Ink up your solid stamp with one of your classic ink colors.
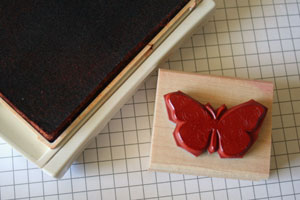
-
Step 2
Ink up your Stamping Wheel either with an ink cartridge or by rolling over another ink pad with a complimentary color.
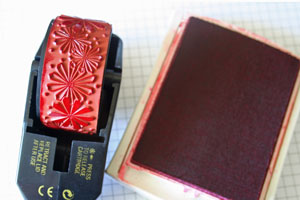
-
Step 3
Place your Wheel on your solid stamp and twist it.
You can also swipe the wheel over the stamp.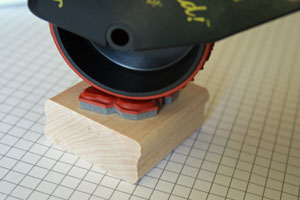
-
Continue to twist or swipe your wheel until you have transfered enough ink from your wheel to your stamp.
This will create your marbled look.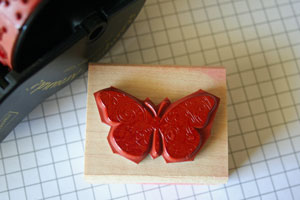
-
Step 4 (Optional)
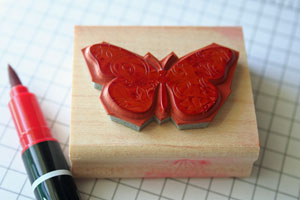
Use a marker to outline your solid stamp. I used the same color that the wheel was inked up with.
-
Step 5
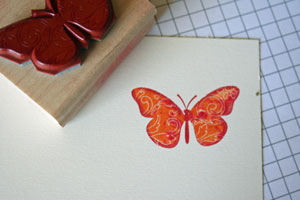
Huff on your stamp. That will remoisten the image. Now stamp your image on neutral cardstock.
-
Step 6
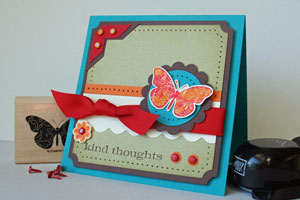
Finish your card.
Your Turn
You've seen the tutorial, now you try it! We've got a section of the gallery set aside for Faux Shaving Cream. Try this technique, then upload your artwork to the gallery. Show us your creations!

5 comments:
pretty neat, thanks for sharing.
Sandra
Cute! I love Beat, she's always got awesome stuff! Thanks for sharing!
Beautiful butterfly.
Love the marbled look. I will have to give this a try. Thanks for sharing this.
This is another technique I had forgotten. thanks for the reminder
Post a Comment